Vrod front wheel spacers
by Editor on 01/06/22
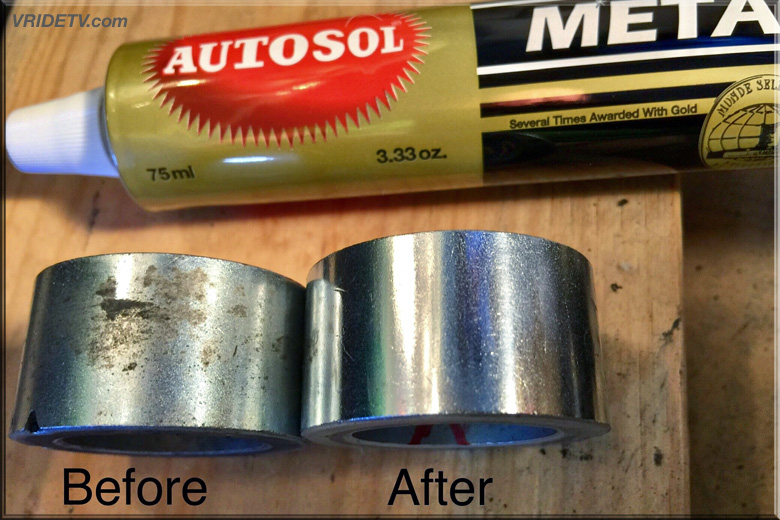
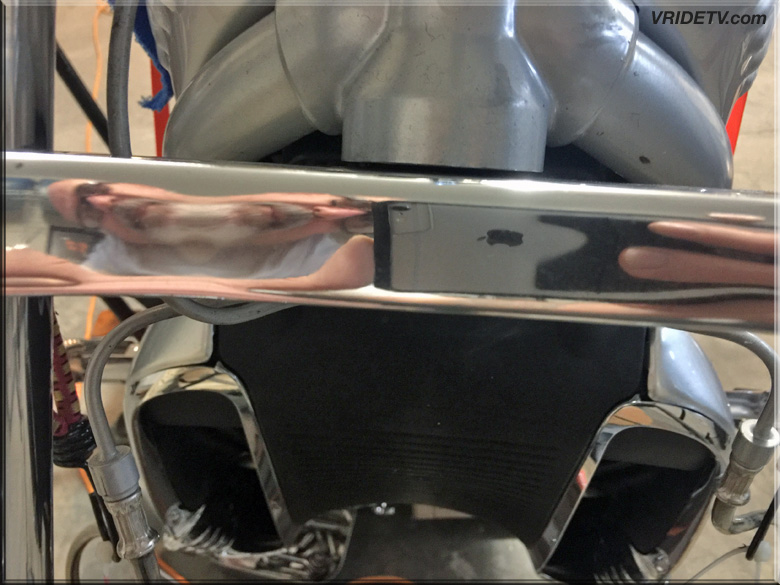
These front wheel spacers cleaned up nicely with a little AutoSol and elbow grease, it's a small detail but all those little things add up to the overall presentation of the bike.
VROD wheel restoration part 5
by Editor on 01/04/22
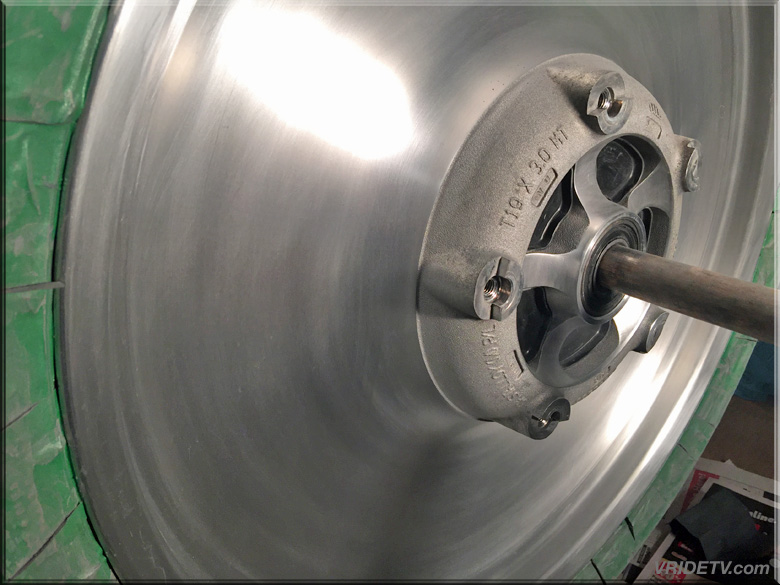
All the wet and dry sanding has been completed with: 220, 320, 400, 600, 800, 1000, 2000 grit. Now for the fun part, polishing!
Happy New Year
by Editor on 01/01/22
Hello 2022, we are looking forward to seeing what you have in store for us!
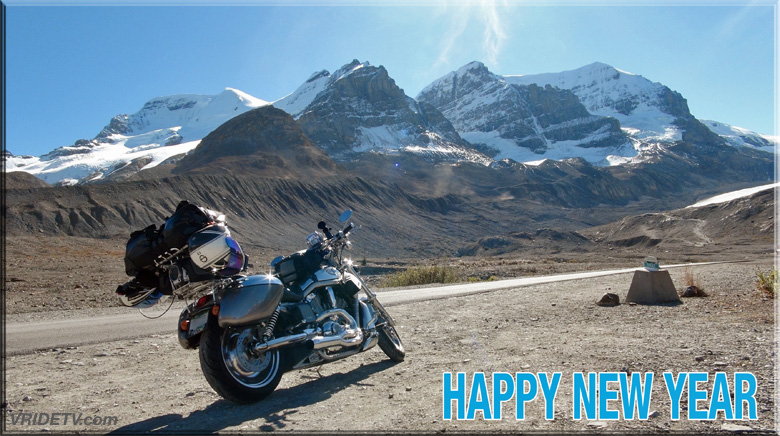
Happy New Year everyone & ride safe!
This picture was taken at the Columbia Icefields in Alberta Canada.
Merry Christmas & Happy New Year
by Editor on 12/24/21
Merry Christmas & Happy New Year everyone, enjoy your time with family & friends.
All the best in 2022.
VROD front brake discs
by Editor on 12/23/21
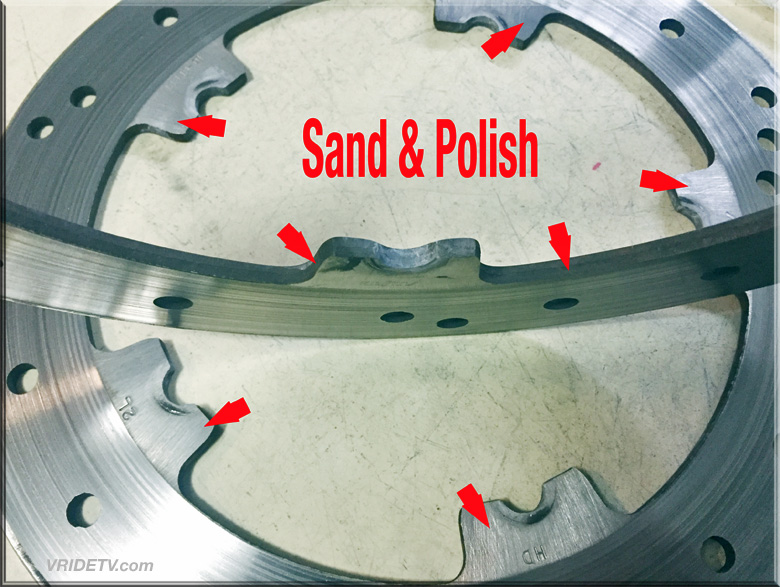
Time to detail these brake discs by sanding and polishing the inner edges and the flat tabs on the 2003 Vrod restoration. No real point in doing the contact surface as the brake pads will score it up on the first ride.
VROD aluminum wheel restoration part 4
by Editor on 12/22/21
Good progress on restoring the 2003 Harley Davidson VRSCA front wheel. I've completed wet & dry sanding with 220, 320, 400, 600 & 800. All the labour in the lower grits is really starting to show now. Sanding with1000, 2000 wet & dry are next then I can finally start polishing.
Tab Performance Slash Cut Exhaust Pipes
by Editor on 12/18/21
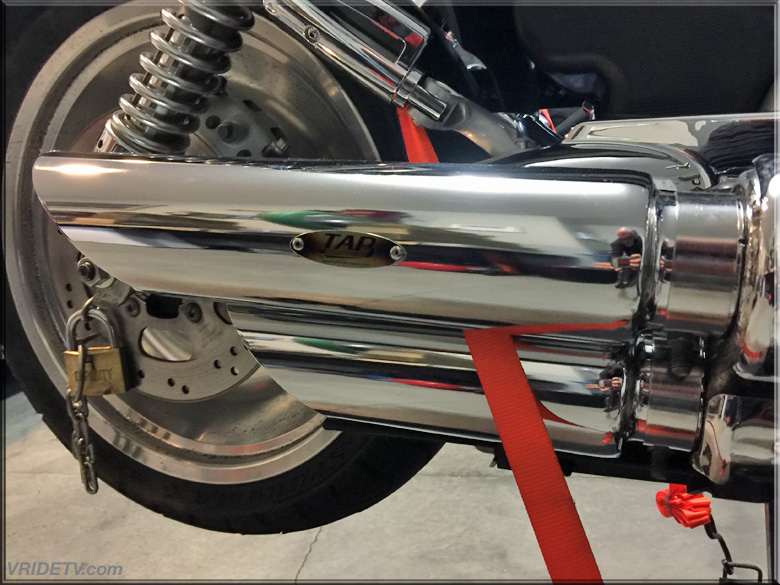
I removed these Tab Performance Slash Cut Exhaust Pipes (UN-Baffled) to do a deep cleaning with AutoSol (light pressure due to abrasiveness) and then Mother's chrome polish. Just put them back on and must say they look as good as new!
VROD aluminum front wheel progress
by Editor on 12/14/21
Here's a pic of the front wheel after being dry and wet sanded with 220, 320 and 400 grit sandpaper. It's sure nice to have those lower grades done, they are definitely the most work and are incredibly time consuming.
Time to jump up to 600 grit!
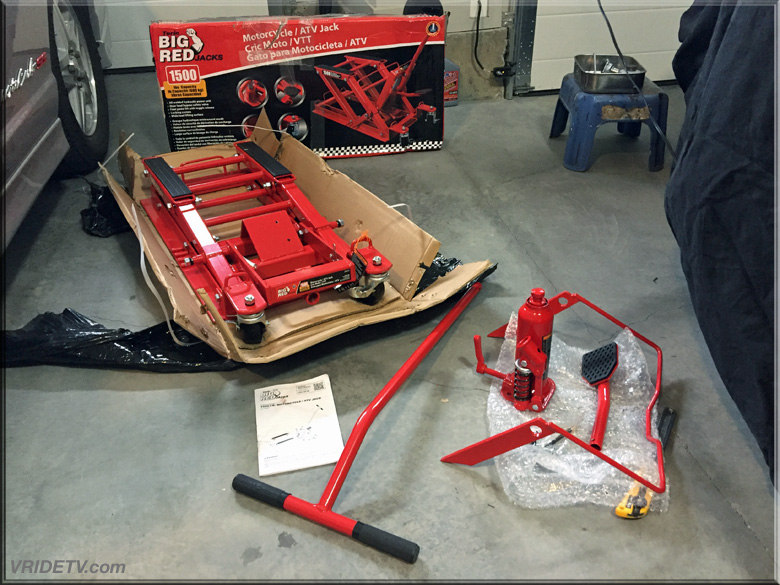
Torin Big Red Motorcycle Lift
by Editor on 12/11/21
Gotta love when you need something and actually find it on sale!
Princess Auto had this Torin Big Red Motorcycle Jack for $139.95 regularly $199.99 and they were also running a promo where they would pay $30 of the shipping!
It arrived yesterday and the build quality looks to be very good, time to assemble it so I can get the CVO VRSCSE off the ground.
PLEASE NOTE:
After I assembled the jack I was unable to slide it under my VROD, it is too high at it's lowest position. In order to use it I needed to roll the bike up onto a couple 2x6 wood pieces then slide the jack under.
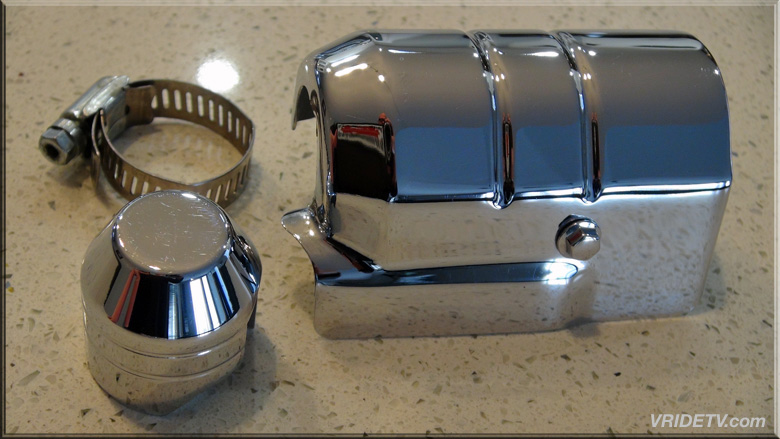
VROD rear master cylinder chrome cover kit. part number 42204-04
by Editor on 12/10/21
Very happy to have tracked down this "Chrome Grenade" for my CVO VRSCSE as they are extremely rare and are classified as a unicorn part!
Vrod rear master cylinder cover kit in chrome.
part number: 42204-04
This bullet-shaped chrome cover is designed to add a custom look while hiding the working components of the V-Rod rear master cylinder. The two-piece design covers both the brake line banjo bolt and the cartridge housing.
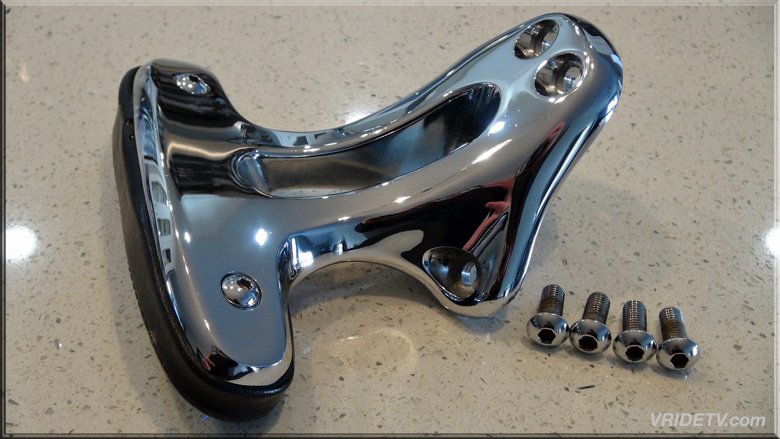
VROD mini backrest 52759-04
by Editor on 12/09/21
These cast and chrome mini sissy bars (part number 52759-04) are known to be a unicorn Vrod part because the are so difficult to find! Happy to have located this one that will end up on the 2005 VRSCSE.
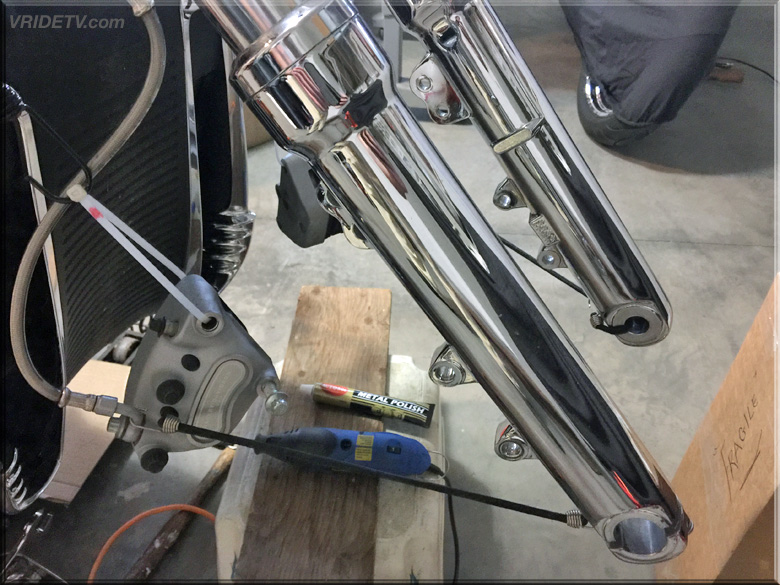
Chrome Front Sliders 46526-02A
by Editor on 12/08/21
With the front wheel and fender off the bike it was a good time to clean and detail the chrome lower legs (part number: 46526-02A) with HD spray cleaner, Autosol and Mothers chrome polish.
CVO motorcycle cover
by Editor on 12/07/21
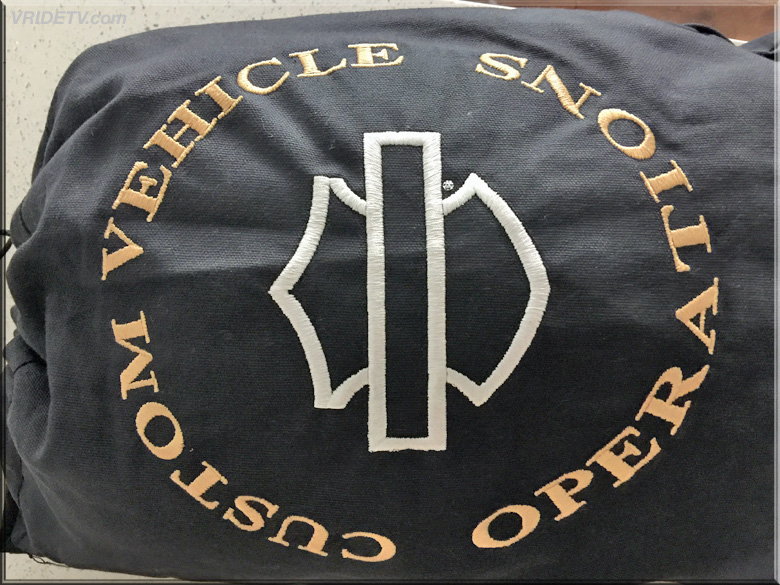
Working away in the garage when the doorbell rings, it's the Fed Ex guy. I opened up the box and was surprised by this brand new in the bag CVO embroidered motorcycle cover!
Whoops, was I not supposed to open it until Christmas?
The Fed Ex guy never mentioned that...
Update: Di is now home and, boy oh boy is that Fed Ex guy in trouble... LOL
VROD lower triple tree
by Editor on 12/06/21
Removed the headlight and mounting bracket and detailed the lower triple tree with Autosol and discovered a two headed bearded monster under all the oxidation.
VROD aluminum wheel restoration part 3
by Editor on 12/04/21
Thought I could skip a few grades of sandpaper but wasn't happy with the results. Dropped down to 220 and sanded down to the raw aluminum. Dry sanding first, next will be wet sanding with the 220. Then I'll be repeating the same process with 320, 400, 600, 800, 1000, 2000 and then finally polish.
This method is tried and true giving the mirror like finish. Once again this is my process & my opinion, it may differ from your technique.
Remember to wear appropriate gloves and mask.
Vrod front fender
by Editor on 12/03/21
After sanding the front wheel the last couple of days, decided to take a break & let the elbow grease regenerate. Shifted my attention to detailing the front fender assembly.
First thing I did was to spray the four nuts on the underside of the fender with a little penetrating oil, then removed them separating the chrome mounting bracket and fender.
Next I cleaned all the parts with Harley spray cleaner.
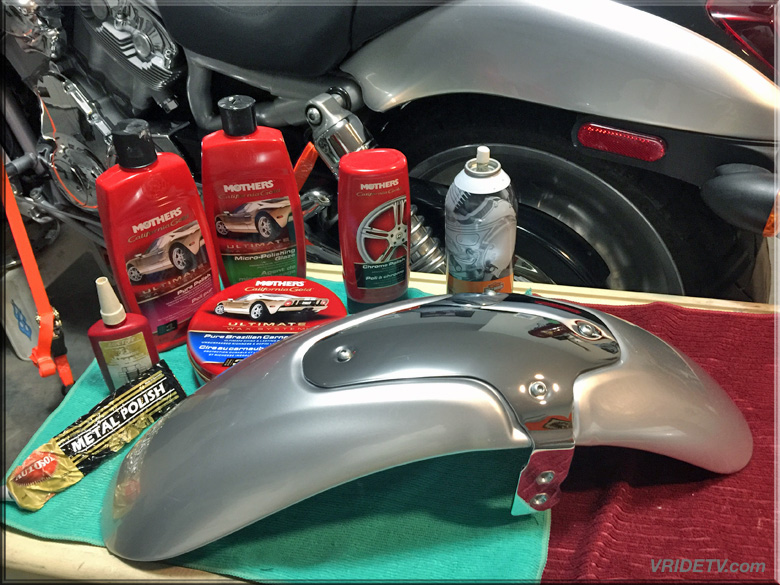
Then I polished the chrome with Mothers and also use their 3 stage waxing system on the Sterling Silver painted fender. I also used a small amount of AutoSol where needed to remove marks in the chrome.
(I know some of you are wondering if I did the underside of the fender? No of course not that would be crazy) (Okay, I confess I did)
The four fender fasteners were also cleaned of the old loc-tite and new blue loc-tite was applied on reassembly.
Here it is reassembled and fully detailed ready for installation.
VROD aluminum wheel restoration part 2
by Editor on 12/02/21
Tapped up the tire with 2 in masking tape to the tire getting all mucky with sanding dust and later polishing compound. Deepening on the condition of the wheel here's the grits of the wet & dry sandpaper I use: 220, 320, 400, 600, 800, 1000, 2000. If the wheel is in really rough condition with deep pitting and scratches I'll start at 220 then work my way up. If the wheel looks something like this one, I'll do the outer bead with 600 as a test. Then polish a small section of it to see how it looks. If the pits & scratches are gone I'll continue with the 600 & work my way up. If not I'll drop down to 400 and repeat the test. This is all done by hand & I found it helpful to fold up a rag then fold the sandpaper around it. Only took me a few sets of finger prints to figure that out.
VROD aluminum wheel restoration part 1
by Editor on 11/29/21
The solid wheels on the Harley-Davidson Vrods will get pitted and oxidized if neglected... The good news is that they can be brought back to life and look better than new!

